IP filters
IP filters are a CIDR block-list that drops office, QA, and bot traffic at ingest, before it ever reaches storage. They keep your own and your testers' visits out of the numbers without changing any code.
What IP filters do #
Each rule is an IP address or CIDR range. When a beacon's client IP matches an enabled rule, the
receiver drops the beacon and never writes it to the analytics store, so the dashboards stay clean.
A rule can be enabled or disabled, and carries an optional label so you remember what it covers, for
example London office.
Tenant-wide vs app-scoped #
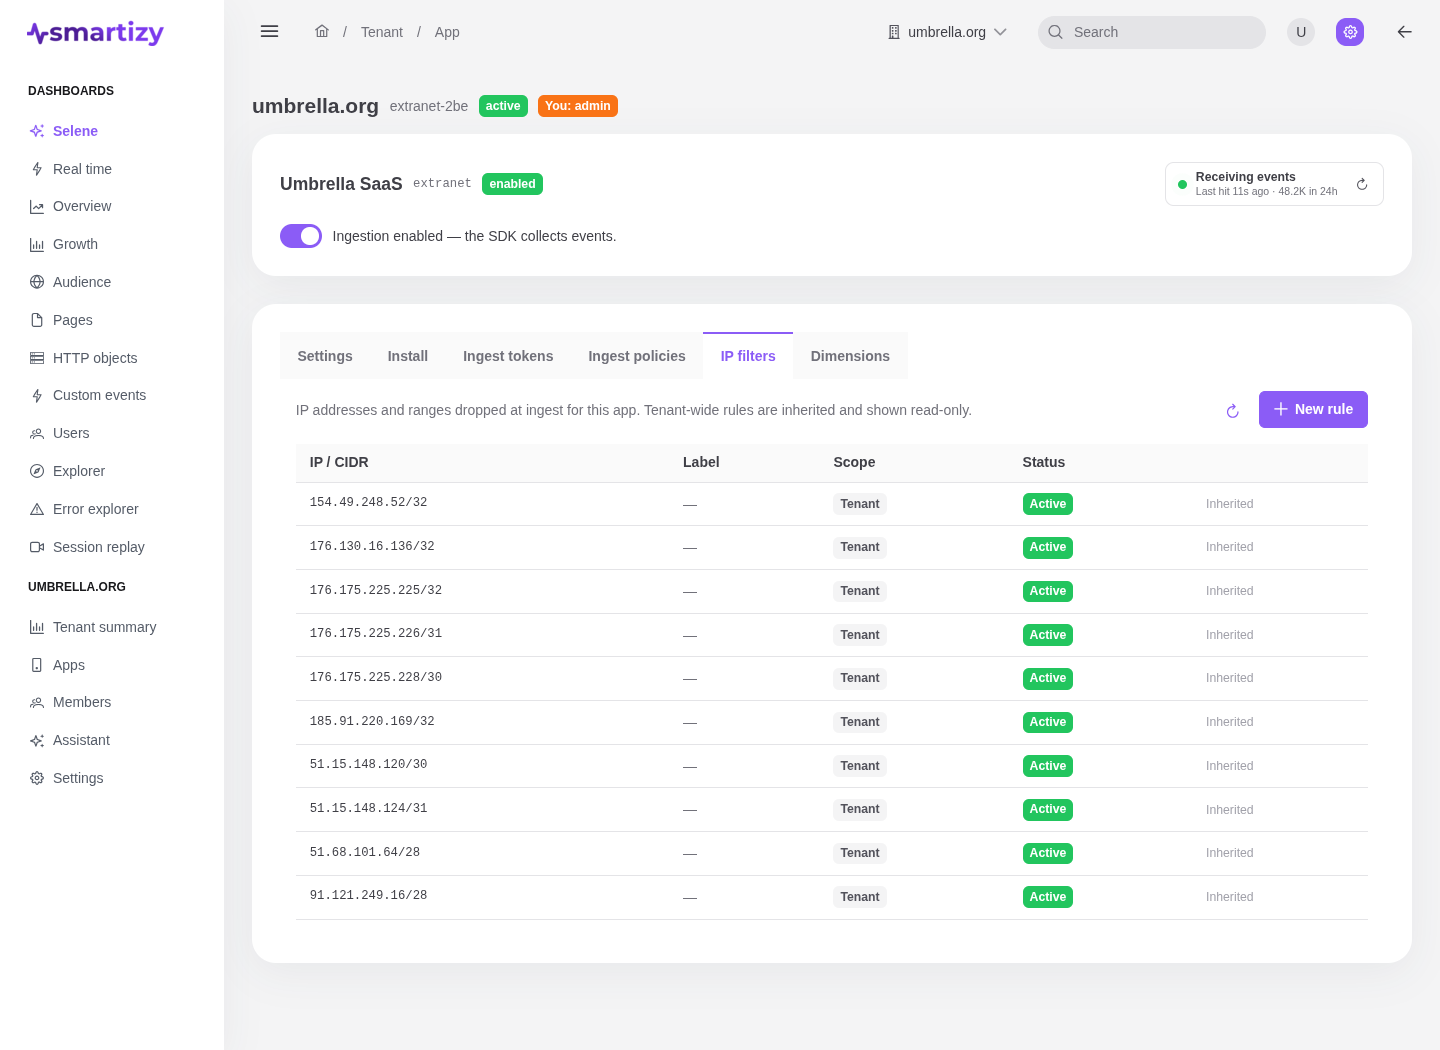
Rules come in two scopes.
| Scope | Applies to | Where you edit it |
|---|---|---|
| Tenant-wide | Every app in the tenant. | The tenant Settings page, in the IP filters card. |
| App-scoped | Just one app. | The app's IP filters tab. |
How matching works #
Matching runs against the raw client IP, before any anonymise or hash from the
ingest policy is applied, so a block-list works exactly even when the policy's
IP handling rewrites stored IPs. The check is a
single in-memory scan, so it adds negligible cost per beacon. When a beacon matches, the receiver
answers 204 with the ip_filtered drop reason and writes nothing.
Add a rule #
You need the Admin role to manage IP filters.
- Open the tenant Settings page (for a tenant-wide rule) or the app's IP filters tab (for an app-scoped one), and click New rule.
- Enter a single IP (for example
203.0.113.7) or a CIDR range (for example203.0.113.0/24). IPv4 and IPv6 are both accepted, and a bare IP is stored as a/32or/128. - Add an optional label, leave the rule enabled, and create it.